Raised garden beds are a fantastic addition to any yard or garden, offering numerous benefits such as improved soil quality, better drainage, and easier access for planting and maintenance. Building a raised garden bed can be a satisfying DIY project that allows you to customize the size and design to fit your needs. In this article, we will guide you through the steps to create your own raised garden bed.
**1. Select a Location:
The first step in building a raised garden bed is choosing the right location. Ensure the area receives adequate sunlight for your plants, typically a minimum of 6-8 hours per day. Additionally, consider accessibility for watering and maintenance, as well as proximity to water sources.
**2. Choose the Bed Type:
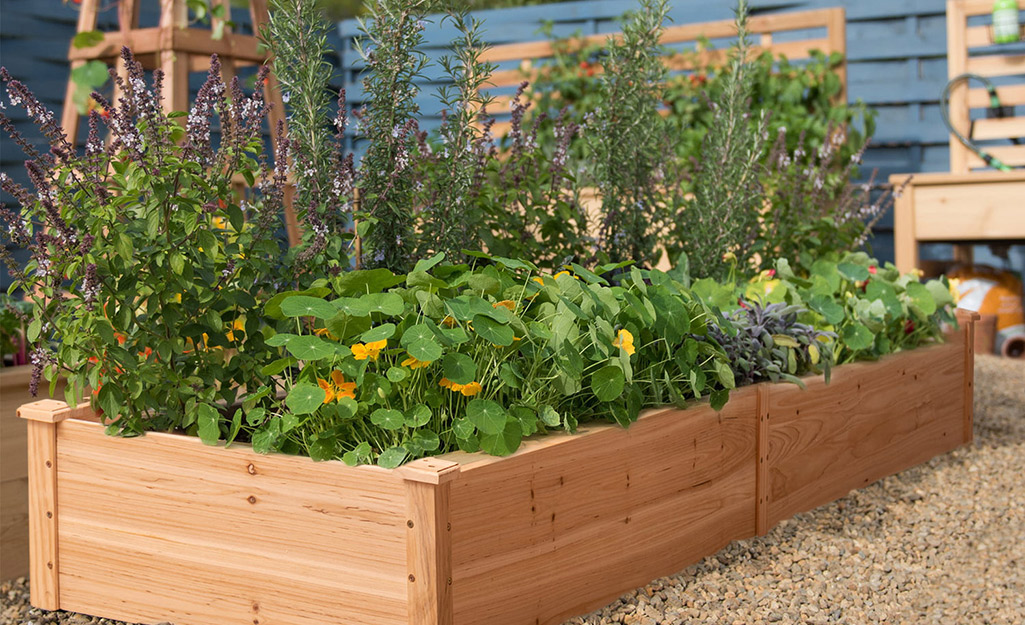
There are various materials you can use to build a raised garden bed, including wood, stone, concrete blocks, and even recycled materials like old pallets. Wood is a popular choice due to its versatility and ease of construction. Cedar and redwood are excellent choices for their natural resistance to rot and insects.
**3. Determine the Size and Shape:
Decide on the size and shape of your raised garden bed. The typical width of a garden bed should be no more than 4 feet to ensure easy access from all sides without stepping on the soil. The length can vary based on your space and needs. Consider a rectangular or square shape for simplicity.
**4. Gather Materials and Tools:
Depending on the material you choose, gather the necessary materials and tools. For a basic wooden raised bed, you will need:
Wood boards (cedar or redwood recommended)
Corner brackets or stakes
Screws or nails
Saw
Drill
Measuring tape
Level
Landscape fabric (optional)
**5. Construct the Frame:
Cut the wood boards to your desired lengths for the sides of the raised bed. Assemble the frame by attaching the boards at the corners using corner brackets or stakes. Ensure the corners are square and use a level to make sure the bed is even.
**6. Prepare the Site:
Clear the chosen area of any grass, weeds, or debris. If you’re concerned about weeds creeping into your raised bed, consider laying down landscape fabric at the bottom of the bed before filling it with soil.
**7. Fill with Soil:
Fill the raised garden bed with a quality garden soil mix. You can purchase pre-mixed garden soil or create your own blend of topsoil, compost, and other amendments. The depth of the soil should be at least 6-12 inches, depending on the plants you intend to grow.
**8. Plant Your Garden:
Once your raised bed is filled with soil, you’re ready to start planting. Choose plants that thrive in your climate and consider companion planting to maximize space and deter pests.
**9. Water and Maintain:
Ensure your plants receive adequate water, as raised beds can dry out faster than traditional gardens. Mulch the surface to help retain moisture and deter weeds. Regularly monitor your garden for pests and diseases.
**10. Enjoy Your Garden:
Sit back, relax, and enjoy the fruits (and vegetables) of your labor. Raised garden beds not only make gardening more accessible but also provide excellent growing conditions for healthy and bountiful crops.
Tips for Success:
Consider garden bed liners: To protect the wood from moisture and extend the life of your raised bed, you can line the inside with a garden bed liner or plastic sheeting.
Rotate your crops: To maintain soil health and reduce the risk of pests and diseases, rotate your crops each season.
Add compost: Regularly enrich your raised bed with compost to improve soil fertility and structure.
Protect against critters: If your garden is prone to wildlife, consider installing a fence or using deterrents to protect your plants.
Building a raised garden bed is a satisfying and practical project that can enhance your gardening experience and yield healthy, thriving plants. Whether you’re a novice or experienced gardener, a raised bed offers a versatile and accessible way to grow your favorite flowers, herbs, or vegetables right in your backyard.